
introduction
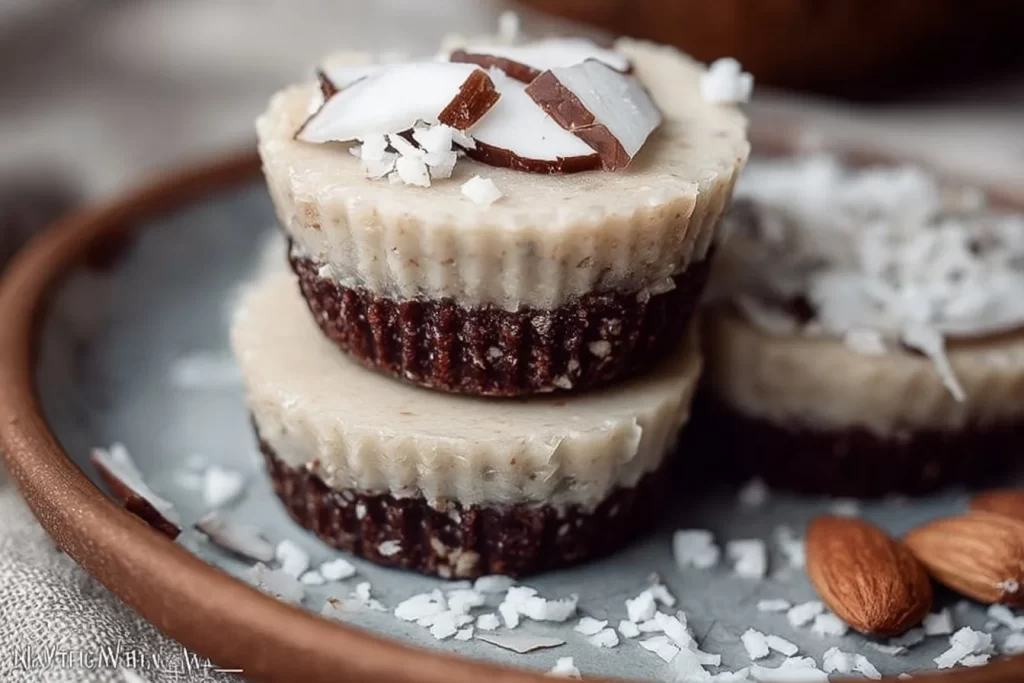
I was running through another busy school morning when the kids asked for something sweet after school. I wanted a snack that felt special but needed to be fast and clean — no oven, no fuss, and something everyone could enjoy. I pulled out shredded coconut and a few simple pantry staples and set the kids to press the mixture into tiny paper cups. We melted a little dark chocolate together while homework waited on the table. Thirty minutes later, we all gathered at the kitchen island for a small celebration of crunchy coconut and rich chocolate. These little no-bake vegan coconut cups became our quick treat for rainy afternoons and a go-to item for packing in lunchboxes when I need a sweet bite that still feels homemade and wholesome.
why make this recipe
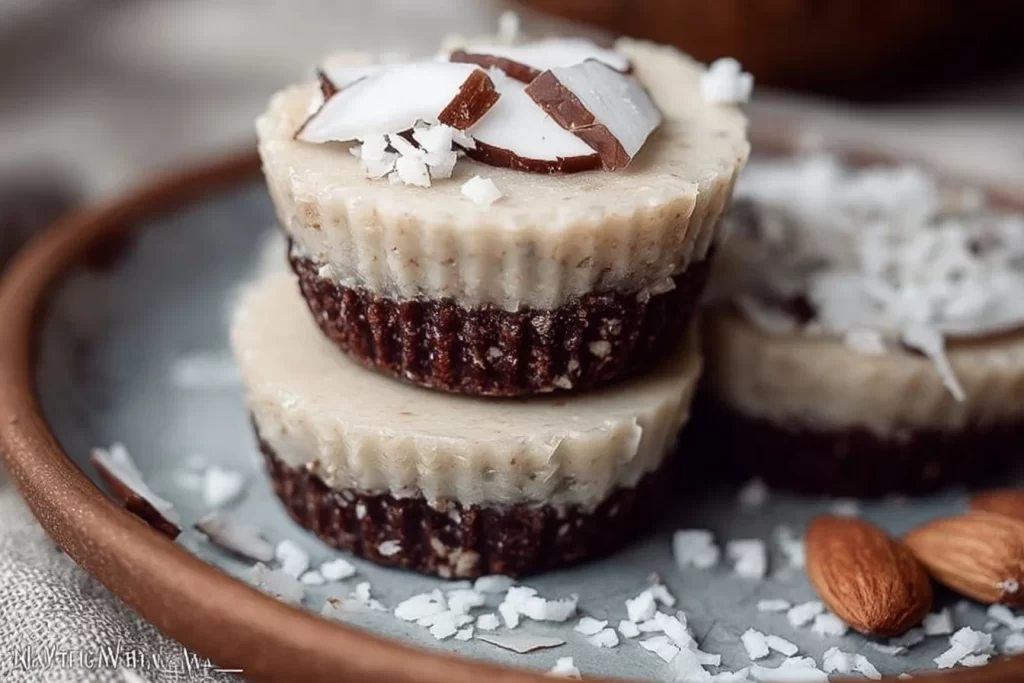
This recipe works when you want a simple, feel-good treat without a lot of work. It uses pantry staples and needs no baking, so it saves time and keeps the kitchen cool. The cups are naturally vegan and easy to make gluten-free. Kids can help press the mixture, which turns snack time into a short activity. The texture balances chewy coconut with a smooth chocolate top, so each bite feels satisfying. For a parent who wants a better-for-you sweet option, these hits the spot: they use fewer ingredients, avoid dairy, and still give that rich chocolate finish. They also photograph well for Pinterest, so they’re great if you like to share recipes and ideas online.
how to make No-Bake Vegan Coconut Cups
Start by mixing the coconut base until it sticks together well. Press that mixture firmly into small molds or paper cups so it holds as it chills. Melt dark chocolate slowly and pour it over each coconut base in an even layer. Chill the cups long enough so the chocolate firms up and the coconut center sets. Work in short steps and keep hands clean: pressing the base tightly helps the cups hold their shape when you remove them. If the chocolate gets too cool while pouring, warm it gently again. The whole process moves quickly, and most of the time is hands-off while they chill in the fridge.
Ingredients :
1 cup shredded coconut, 1/4 cup coconut oil, 1/4 cup maple syrup, 1 teaspoon vanilla extract, 1/4 cup cocoa powder, 1/4 cup dark chocolate chips
Directions :
- In a mixing bowl, combine shredded coconut, coconut oil, maple syrup, and vanilla extract. Mix until well combined., 2. Press the coconut mixture into the bottom of silicone molds or paper cups., 3. Melt the dark chocolate chips in a microwave or double boiler, then pour over the coconut layer., 4. Refrigerate for at least 30 minutes to set., 5. Once set, remove from molds and enjoy your no-bake vegan coconut cups!
how to serve No-Bake Vegan Coconut Cups
Serve them chilled straight from the fridge for the best texture. Place a few on a small plate for an after-school snack or pack single cups in cupcake liners for lunches. They make a sweet finish to a casual family dinner and work well on a dessert platter with fresh fruit or nuts. If you bring them to a potluck, arrange them on a pretty tray and sprinkle a pinch of flaky sea salt on top of the chocolate before it sets for a grown-up touch. For parties, garnish some with a light dusting of cocoa powder or a small piece of toasted coconut for contrast.
how to store No-Bake Vegan Coconut Cups
Keep these in an airtight container in the fridge for up to two weeks. Place parchment or wax paper between layers so the chocolate tops don’t stick. For longer storage, freeze them in a single layer on a tray until firm, then move to a freezer-safe container for up to three months. Thaw frozen cups in the fridge for 20–30 minutes before serving. If you live in a warm climate, store them in the fridge until just before serving so the chocolate stays firm and the coconut center keeps its shape.
tips to make No-Bake Vegan Coconut Cups
- Use finely shredded coconut for a smoother, bindable texture.
- Warm the coconut oil slightly if it is solid so it mixes easily with the shredded coconut.
- Press the coconut mixture firmly into the cups — firm packing prevents crumbling.
- For even chocolate tops, let the melted chocolate sit a minute to cool slightly before pouring so it spreads more smoothly.
- If chocolate thickens, warm it in short 10–15 second bursts in the microwave, stirring between bursts.
- Use silicone molds for easy removal, or paper liners that peel away from the sides.
- Add a pinch of salt to the coconut mix to lift the flavor if your maple syrup is mild.
- If the chocolate cracks when you remove the cups, chill a little longer next time or press the coconut base tighter.
- Taste as you go: adjust maple syrup slightly for more or less sweetness, but keep the listed amounts to follow the recipe precisely.
variation (if any)
Swap or add a few extras to change the flavor. Stir in 1–2 tablespoons of chopped toasted almonds or cashews to the coconut base for crunch. Mix 1 tablespoon of almond butter into the coconut mix for extra richness. For a citrus hint, add 1 teaspoon of lime or orange zest to the coconut mix. Use vegan white chocolate chips or a blend of dark and milk-style vegan chocolate for a different top layer. If you like a chocolate-coconut base, add the cocoa powder listed to half the coconut mixture and press a chocolate-coconut base with a plain coconut top, or vice versa. Keep changes small to maintain the set and texture.
FAQs (minimum three FAQ)
Q: Are these coconut cups gluten-free?
A: Yes. The ingredients listed are naturally gluten-free, but double-check labels if you need strict gluten-free certification.
Q: Can I use fresh coconut instead of shredded dry coconut?
A: Fresh coconut is wetter and will change the texture. If you try it, reduce any extra liquid and press very firmly, but the recipe works best with shredded dry coconut.
Q: How long do they last at room temperature?
A: They can soften quickly at room temperature. If your room is cool, they may be okay for a short time, but store in the fridge to keep the chocolate firm and the coconut set.
Q: Can I make these nut-free?
A: Yes. The base recipe has no nuts. Avoid adding almond butter or nut toppings and confirm the chocolate you use is manufactured without cross-contact if needed.
Q: Can I sweeten them with honey instead of maple syrup?
A: Honey is not vegan, so stick with maple syrup for a fully vegan version. If you are not vegan, honey can work but it changes the flavor slightly.
Q: Why did my cups crumble when I removed them?
A: They likely needed firmer packing or more chilling time. Press the base more tightly and chill until fully set before removing.
Conclusion
If you want another take on raw coconut cups with similar ideas and inspiration, check out a related recipe and tips on a related raw coconut cups recipe on Elavegan.
No-Bake Vegan Coconut Cups
Ingredients
Method
- In a mixing bowl, combine shredded coconut, coconut oil, maple syrup, and vanilla extract. Mix until well combined.
- Press the coconut mixture firmly into the bottom of silicone molds or paper cups.
- Melt the dark chocolate chips in a microwave or double boiler, then pour over the coconut layer.
- Refrigerate for at least 30 minutes to set.
- Once set, remove from molds and enjoy your no-bake vegan coconut cups!

